

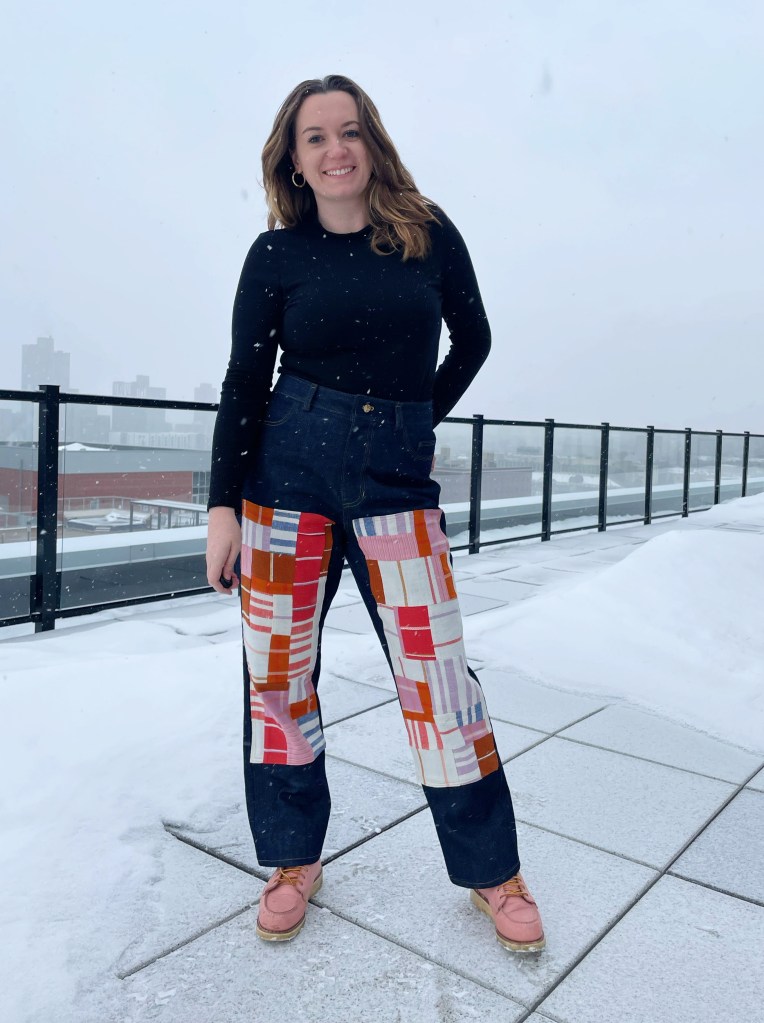
I took time off of work at the end of the year to have a staycation/sewcation, and I planned to spend some time making new jeans. I picked out the Helen’s Closet Patterns Brook Jeans and 11oz non-stretch indigo denim from Blackbird Fabrics (now sold out). I was inspired to add patchwork fronts by @natalie_ebaugh on Instagram and the ready-to-wear brand Carleen. For those, I used scrap fabric from a quilt top project I made last summer – all from the Ruby Star Society Warp and Weft collection.
This was my first time working with raw denim – denim that hasn’t been treated or washed before being sold. This means the fabric is pretty stiff and the dyes are not set – they will fade with wear. I read the Raw Denim Care Guide from Blackbird Fabrics and decided to soak the denim in warm water with some vinegar in my bathtub, before washing and drying (on its own) in my washer and dryer. I wanted to shrink it as much as possible and wash out some of the indigo before sewing up the jeans, especially since I was planning to add the patchwork double fronts in cotton.
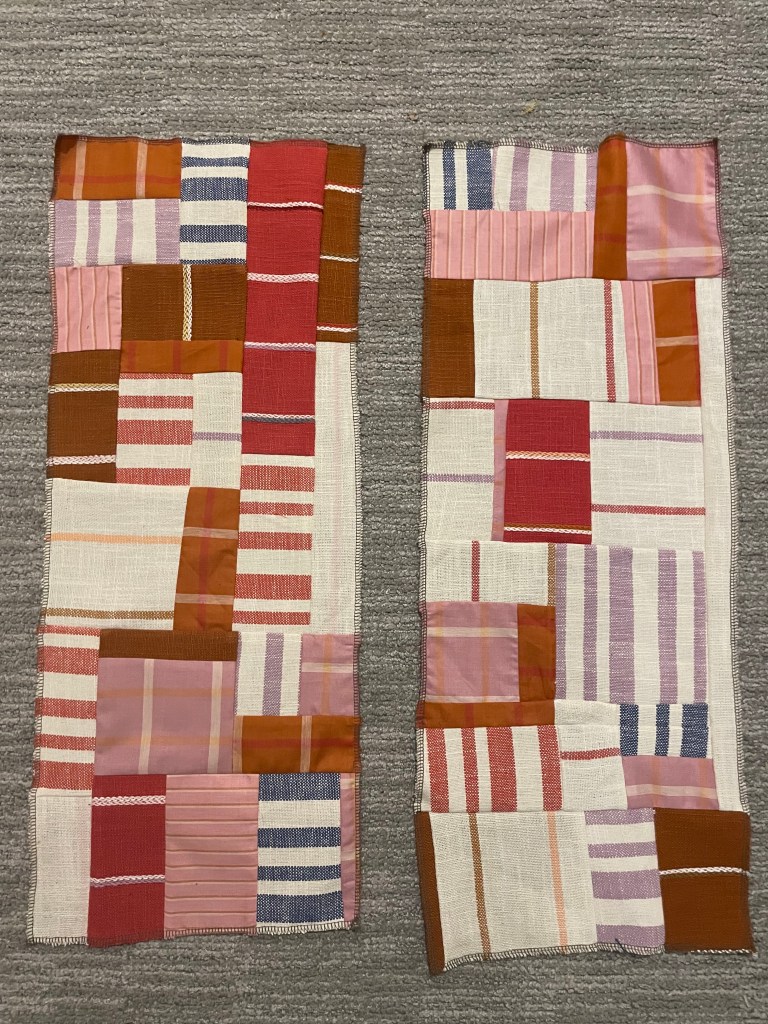
To make the double fronts, I held up paper to see what size rectangle I wanted to add to the fronts of my jeans. I ended up with a paper template of a rectangle that was 24″ by 9.5″, including 1/2″ on all sides for seam allowances. To put them together, I placed scraps of different sizes on top of the paper template until I had a rough idea of what they would look like, then pieced them together and finished all seams with my serger. I washed and dried the patches to remove dye loss and shrinkage – they lost an inch in length and a quarter inch in width, which was just fine. To get them onto the fronts of the jeans, I folded and pressed the 1/2″ seam allowance and then pinned in place on the front leg pieces, with the tops of the patches in line with the end of the zipper placement. My favorite way to ensure symmetry on both legs is to do a sandwich of fabric – placing and pinning the first patch right side up on one leg, then the second patch right side down. Line up the second leg with right side down as the very top layer and pin – now they are mirrored almost perfectly!
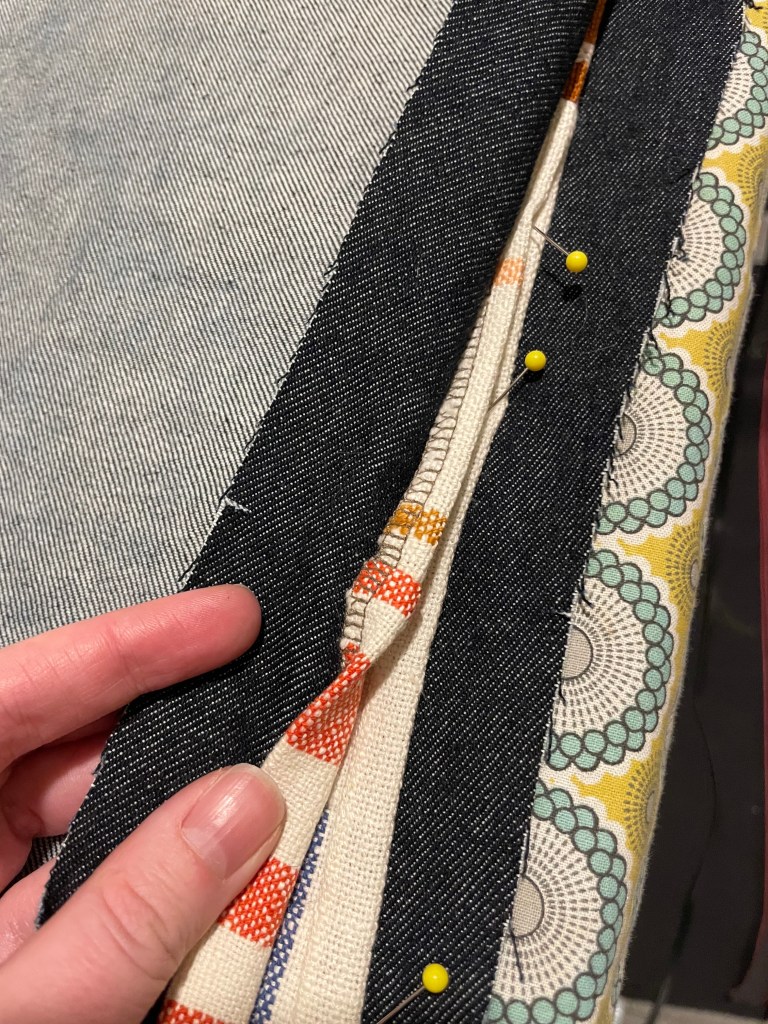
I was careful to follow the grainline of the fabric rather than lining the patches with either seam on the legs, since there is shaping on the leg pieces of this pattern. I chose to use a double line of topstitching around the patches to attach them, to match the rest of the project.
The Brooks Jeans pattern was a really straightforward and fun sew, and as always, Helen’s instructions were super clear. Even the zipper fly was easy to put together, and I think they turned out great. The pattern goes up to a 62″ hip, and I chose a size 14 based on the size chart. I took the yoke in a bit at the back and straightened the hip shaping a bit at both sides. I really like the mom-jean fit, and I did not make a toile and didn’t want to over-fit them, but next time I’ll take some width out of the inseam to correct for some drag lines in the back.

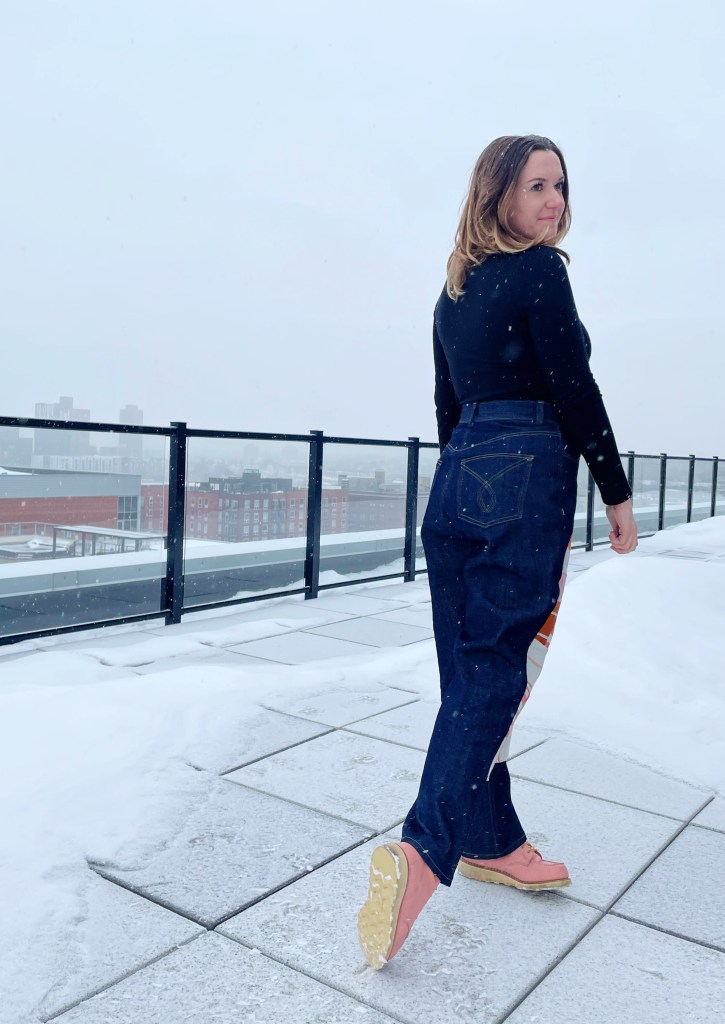
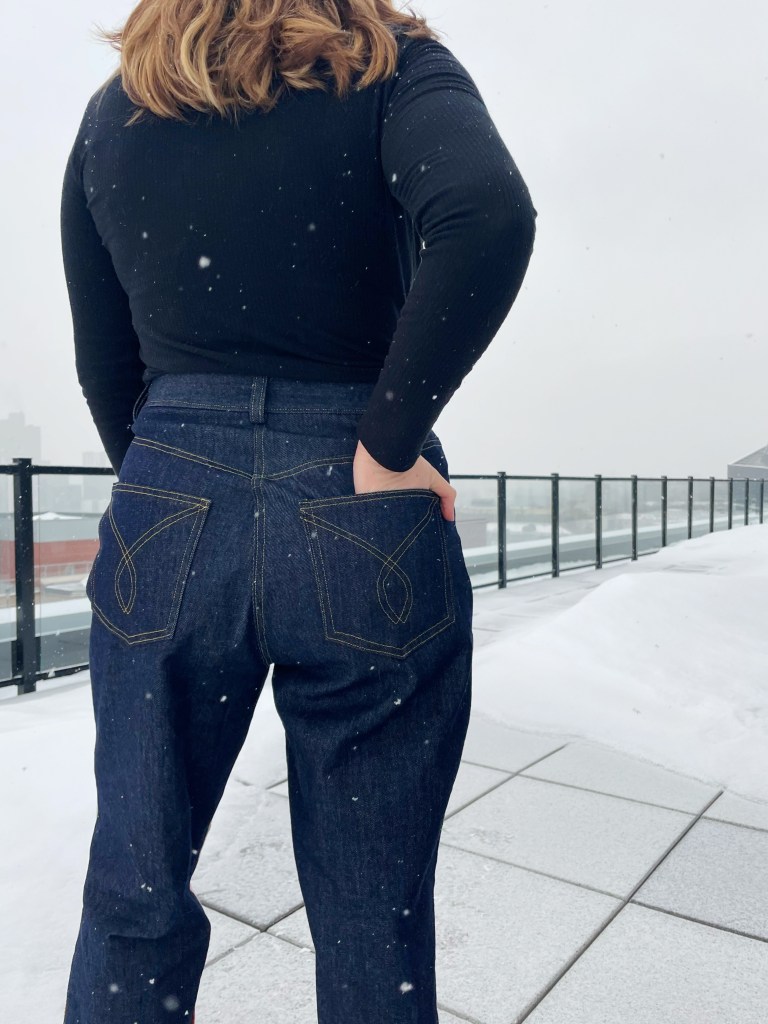
Here are some pictures I took in the snow to show off the final product. I’m excited to see how these jeans will wear in!
